With just a few materials, we were able to complete our budget-friendly cheap diy patio in just under a week. With some gravel and a few decorative touches, here’s how to build up an affordable diy patio.
If you’re looking for a super budget-friendly way to convert an eyesore of a space into a relaxing summer patio—in just a few days—here are a few pointers to help your cheap diy patio done in time to welcome the warm season.
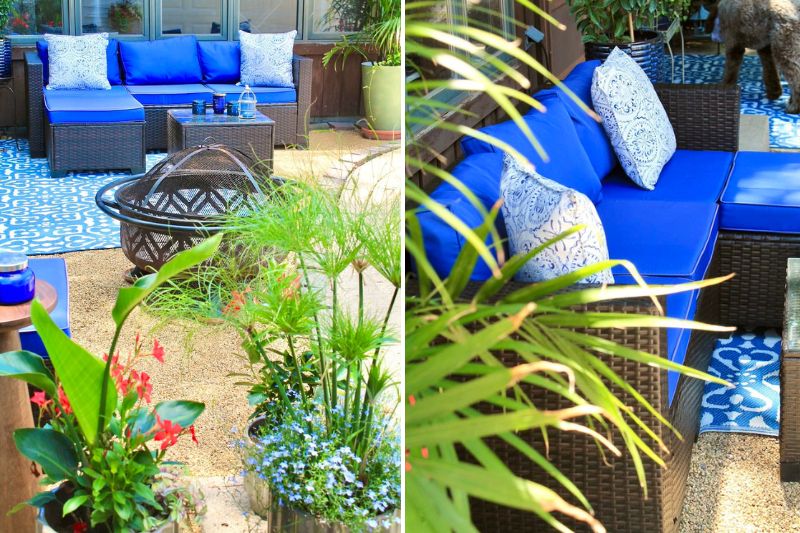
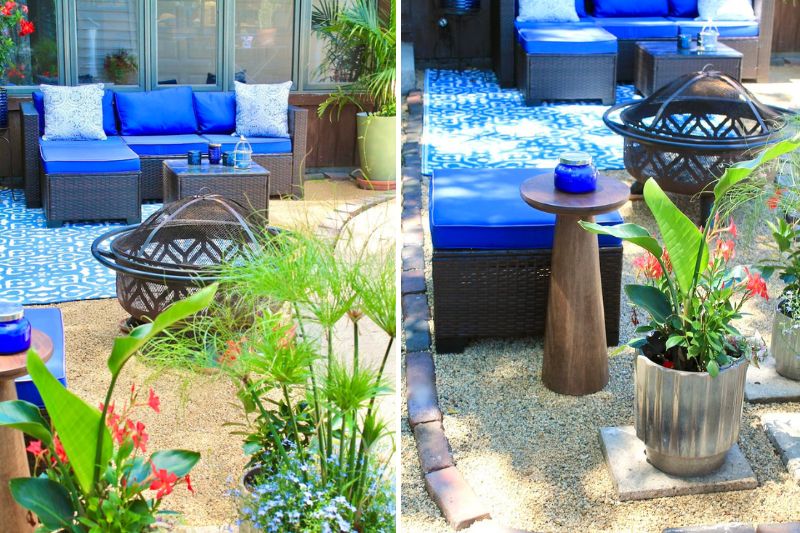
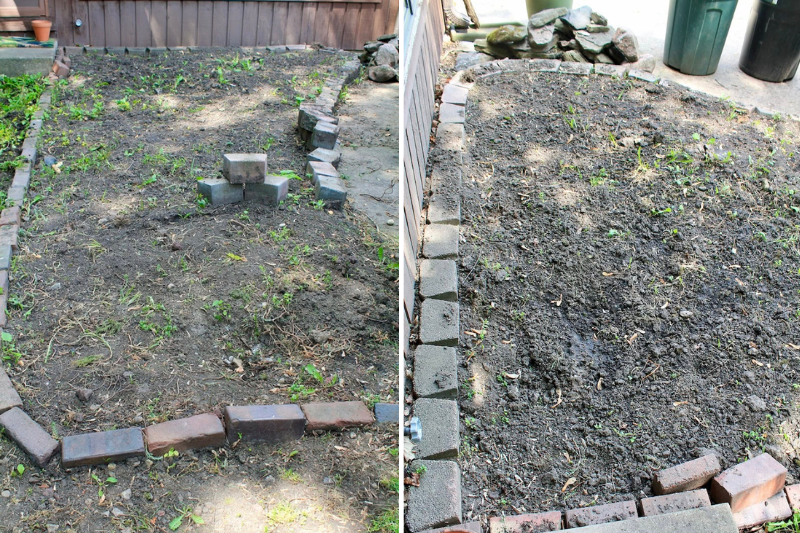
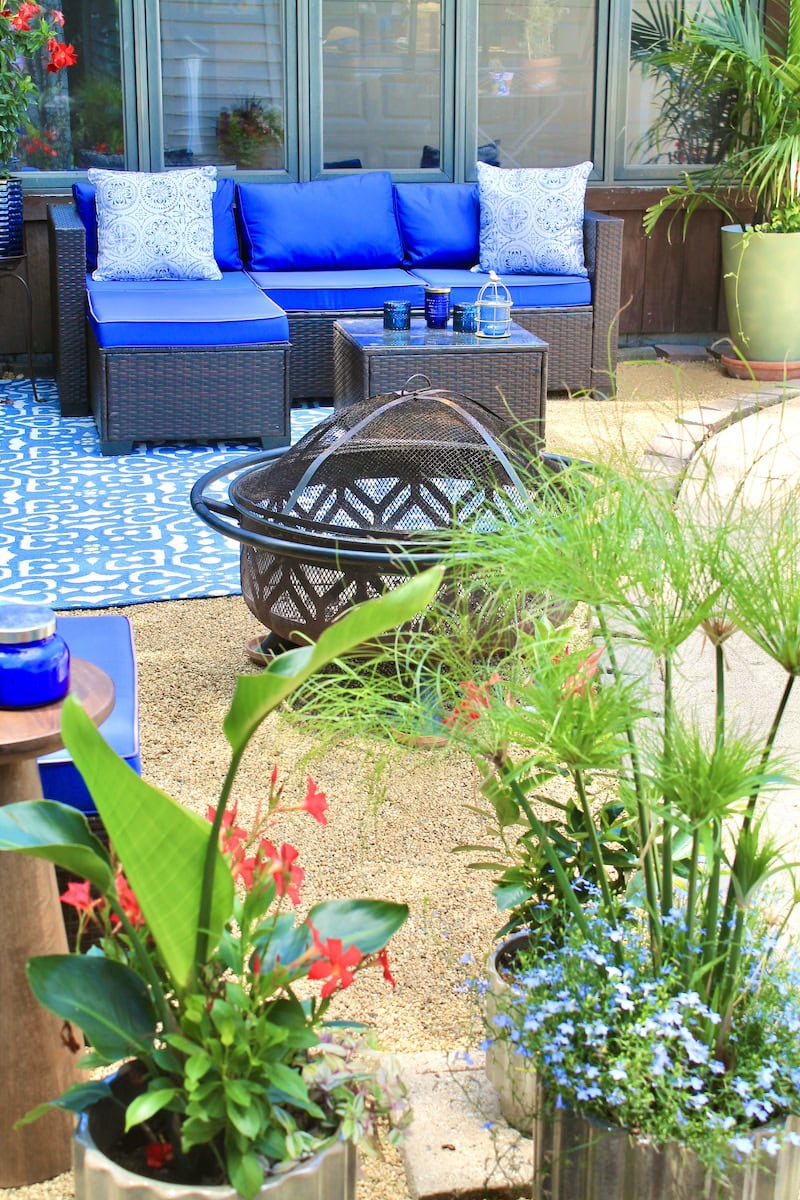
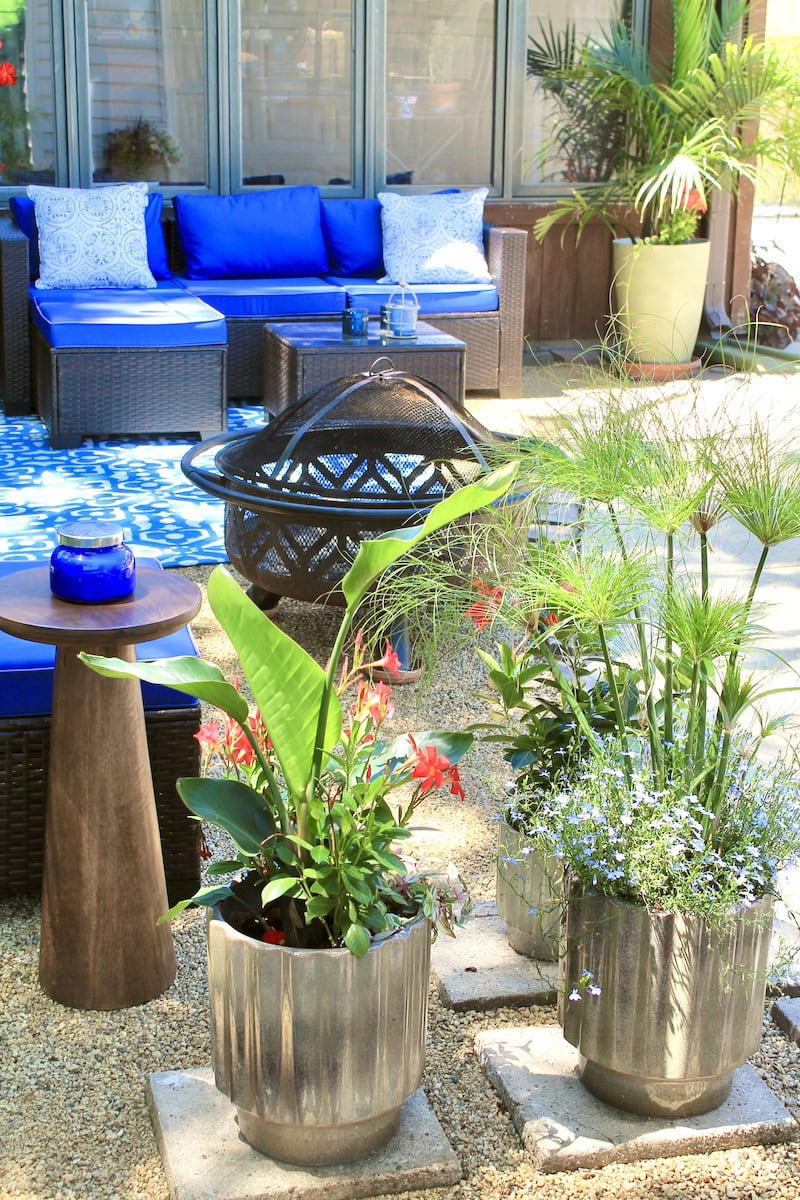
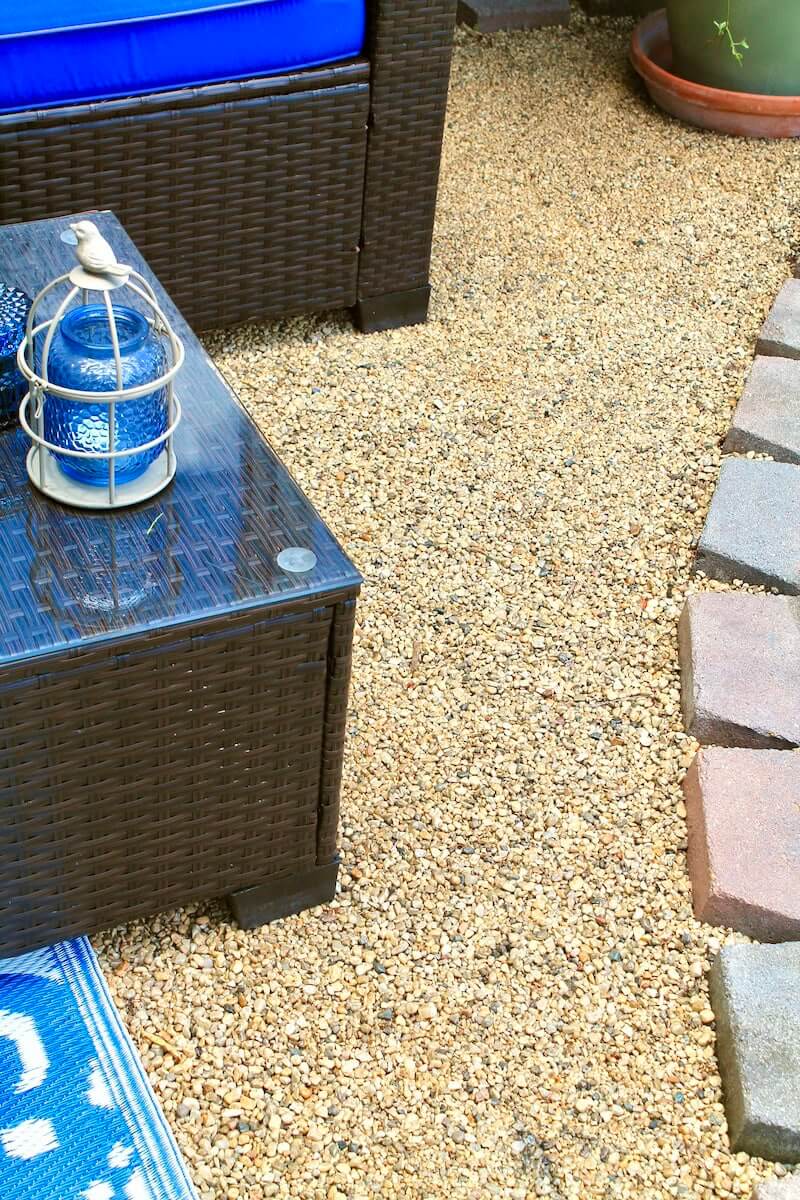
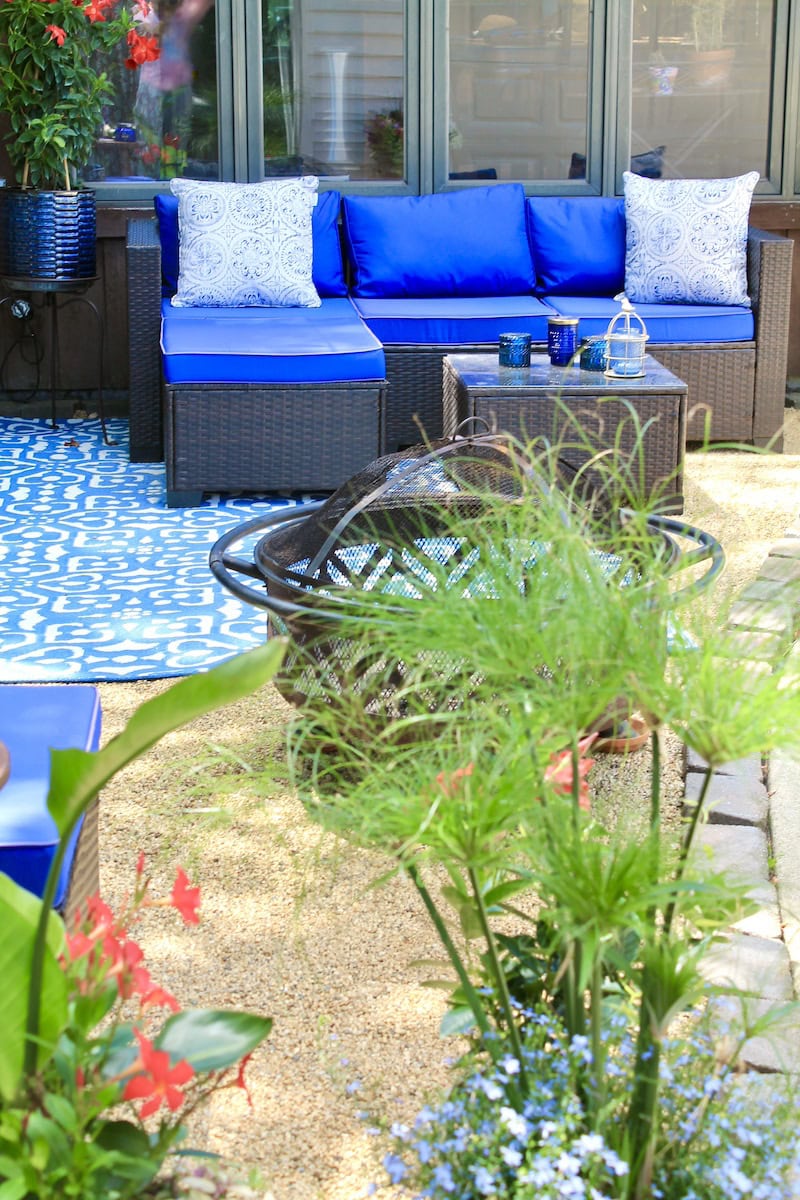
As you can see from the photos, we were able to take it from total weed bed to a compact, but enjoyable little space.
Diy Patio space | AFTER
There are a few tools what will come in handy to help build a diy pea gravel patio. Here’s what’s involved.
Diy Patio space | Before

While this may or may not be exactly everything you need to help build your small diy gravel patio, it’s a solid beginner’s list for the basic necessities to help you start off on the right foot.
Building Your inexpensive diy gravel patio:
Here are a few essentials that will help you get started on your journey to a brand new diy pea gravel patio…
materials to help build a cheap diy patio
DIY GRAVEL PATIO materials >>
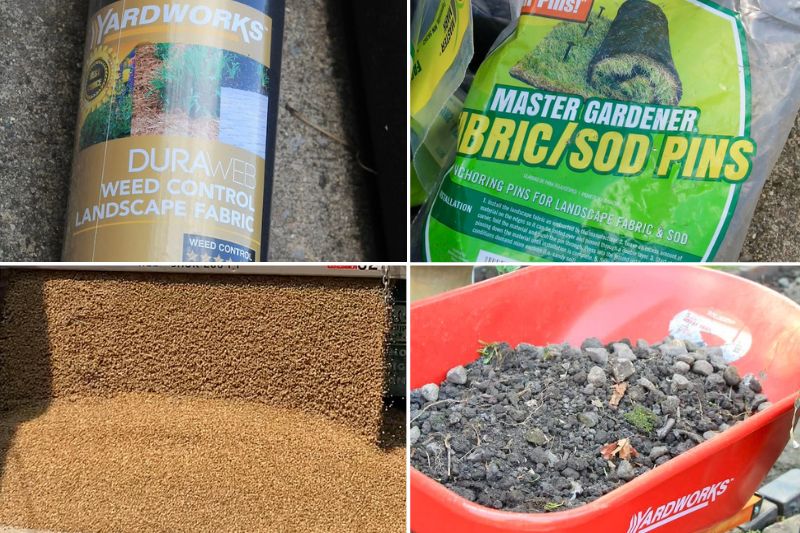
- Pea Gravel
- You can contact a landscape service in your area and arrange a delivery date.
- The truck will come and pour it down right on your driveway! Be ready with measurements and calculations to order enough material for proper coverage.
- Step Stones / Bricks / Borders (optional)
- If you are planning on adding any edging or border accents to your diy gravel patio, consider the style, size, and placement.
- This came in handy for me when I realized that I wanted to decorate my glued down gravel patio with potted flowers and garden containers.
- I used square garden walkway step stones to create spots throughout the gravel patio that could support heavy garden containers with potted flowers.
- We also used round garden step stones to create a walkway that leads from the backdoor step out to the garden.
- Bricks were used to create a decorative border edging for the diy gravel patio itself.
- Landscape Fabric / Weed Control Fabric
- This will help to create a weed barrier for a weed free surface for years to come.
- Landscape Garden Stakes
- You’ll need stakes to poke through the fabric and into the dirt to hold the weed control fabric in place before adding your layer of gravel on top.
- Rock or Gravel Glue (optional)
- (2 to 3 jugs as needed) if using, this helps to keep your gravel patio surface in place.
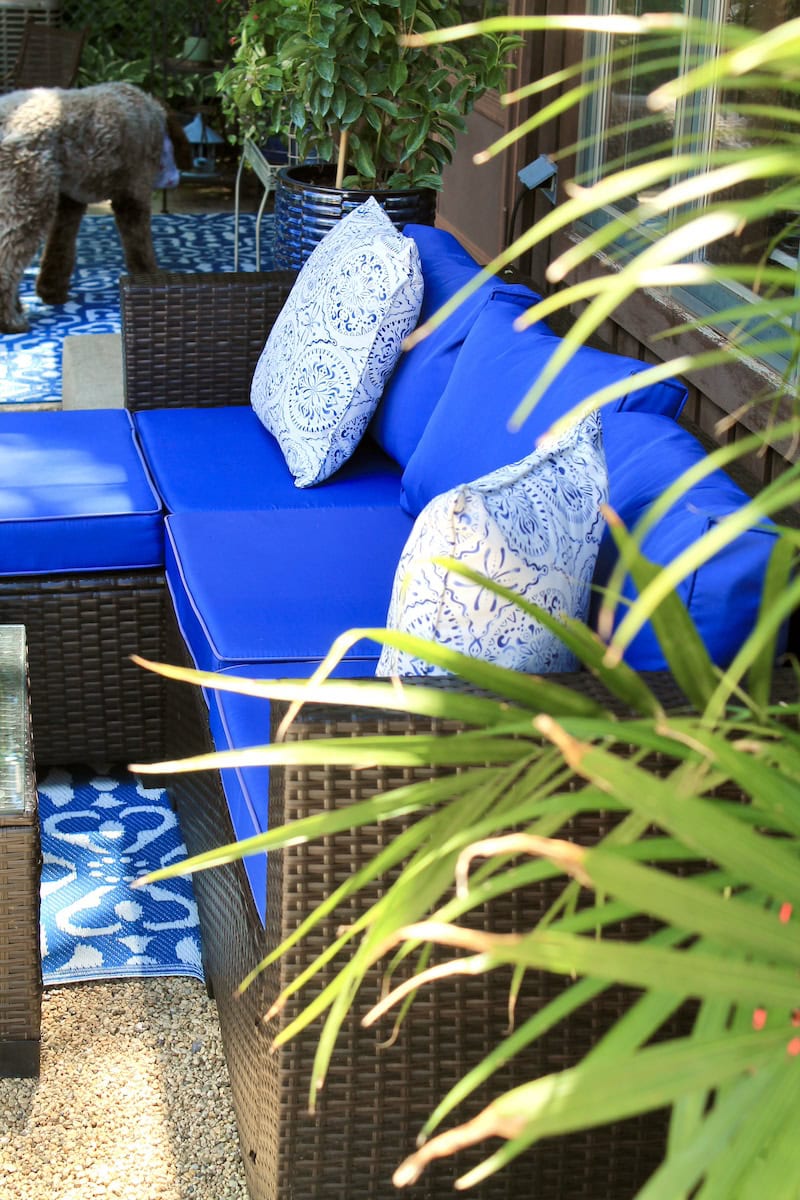
- Having two boys and a 50 lb dog, we knew this space would need to endure a lot of rough ‘n tumble, so we opted to spray our gravel surface down into place. It worked out beautifully!
- It doesn’t matter which brand you buy as I think most work the same, but remember:
- DON’T dilute glue with water (it won’t cure right)
- DO give it ample time cure and dry in between applications
- DO expect to apply multiple layers as needed until everything stays in place as desired.
- We had to apply multiple layers and repeat the process until the desired effect was achieved.
- It wasn’t hard to do with a pump sprayer, it just needed a little time and patience.


DIY PATIO Tools >>
- Gardener’s Wheelbarrow
- For transferring / distributing excess dirt out of the workspace area and on to other spaces throughout the garden as well as transferring the gravel to the work site.
- Heavy Duty Digging shovel
- One or two, if there’s two of you, one for each will help the digging process go a lot faster. We used long heavy duty gardener’s shovels to help break up dirt and dig the surface down by a few inches to help create a deeper surface that would contain a nice thick layer of gravel.
- Square Transfer Shovel
- Once again, if there’s one for each, the transfer goes a lot faster! We found this tool particularly helpful to fill the wheelbarrow each time and move gravel from the main driveway pile to the worksite.
- Leveling Rake or Landscape Rake
- This tool was helpful at the end once we transferred in all of our gravel. The leveling rake helps to gently push the gravel into place filling borders and edges all around without spilling over onto undesired areas. It also helped to create a finished level surface right before applying a glue coat to stabilize the gravel.
- 10 Gallon Outdoor Container with Lid
- One or two, perfect for filling up with leaves, weeds, rocks, and excess dirt and debris as you’ll need a place to put all of the things you clear out / remove from the workspace.
- Small Electric Garden Tiller (optional)
- If you’re working a smaller space, it may not be necessary.
- For larger spaces with lots of ingrown weeds and plants, I recommend this tool as a first step to loosen up the dirt and prepare it for easy weeding and excess plant removal.
- Removing all that extra stuff helps to dig, tamp down, and level the dirt floor with ease later on.
- Handheld Steel Tamper Tool
- We used this tool many times after digging down our dirt surface and before putting down the landscape weed fabric.
- It helps to level the prepped dirt surface area and create an even layer for the fabric and gravel to rest on.
- It was also helpful after putting the gravel down, as you can wet the gravel and then use the tamper to compact it down to create a beautiful, even floor-like patio surface.
- Multi-Purpose Lawn and Garden Pump Sprayer
- This tool was a handy dandy compact sprayer for applying the rock and gravel glue in one easy step.
- Just follow the directions to assemble the pump, fill the little jug with glue, screw on the lid, pump, and spray the glue (preferably on a nice warm and rain-free day).
- Small Handheld Gardening Shovels
- One or two, to help remove stubborn weeds creeping up edges and borders for a clean finish all around.


Gear >>
- Work Gloves
- One or two sets, for all that gravel and dirt work you’ll be doing with your hands.
- You’ll need an extra layer of protection as you work with a variety of tools and materials.
- Gardener’s Foam Kneeling Pad
- These come in handy when you spend a bit of time on your knees getting that weed barrier down and putting your stakes in place.
- Alternatively, knee pads also offer an added layer of padding and comfort.
- Heavy Duty Work Shoes
- Any kind! It’s something not to be overlooked as you’ll need them when working with a variety of tools in the dirt spilling and moving rocks, gravel, and debris.
- Open toe shoes of any kind are not recommended and can result in injury.
- You’ll want a proper pair of closed-toe work shoes to protect your feet so that injuries don’t set you back.


Decor + Ambiance >>
- Patio Furniture
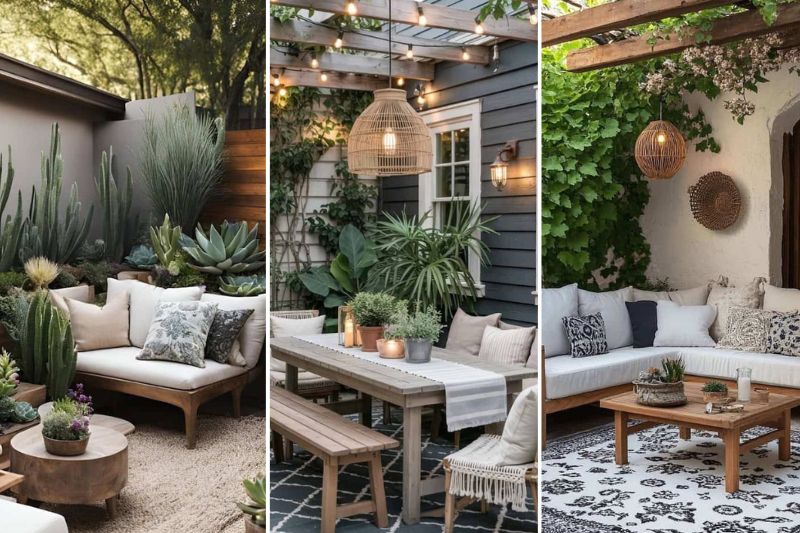
- When all is said and done, it will be time to bring the indoors out for the season! Finally, you can set up and style your new diy gravel patio space with all your favorites! Bring out that beautiful patio set so you can kick back and sip on something cold.
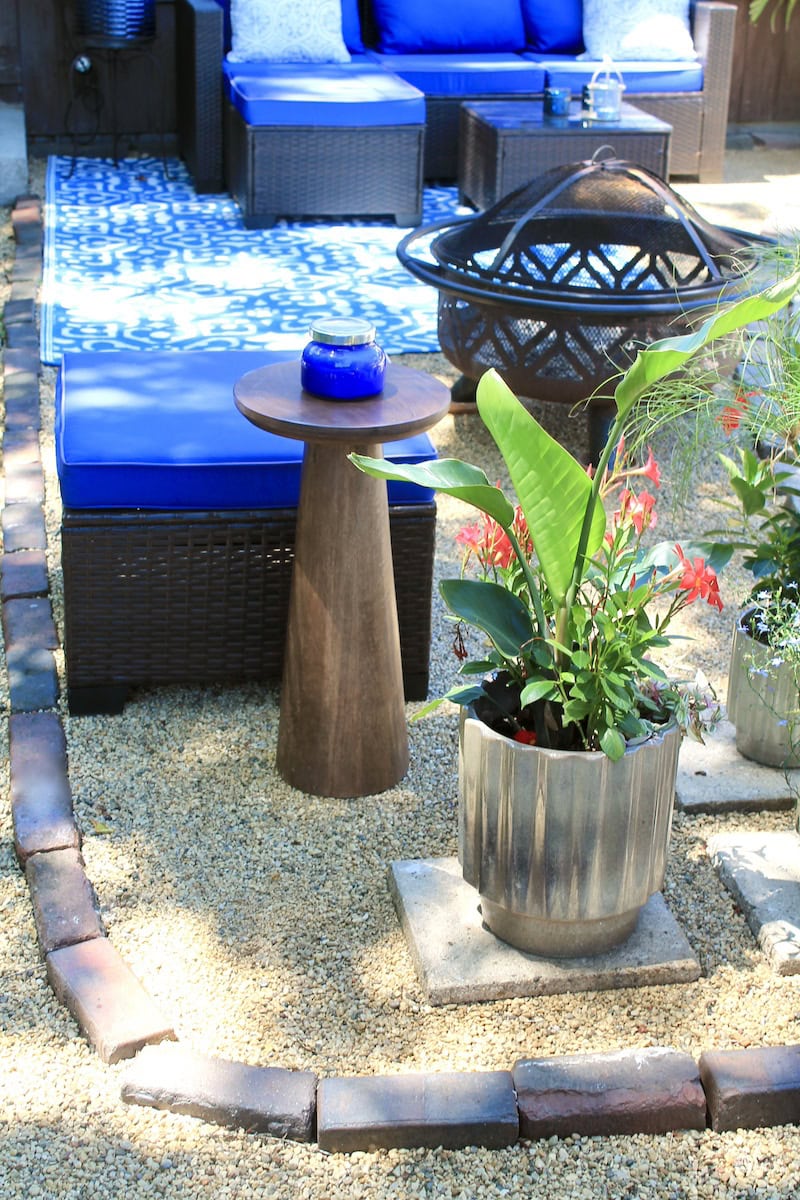
- Fire Pit
- Last, but not least, no space is complete without a touch of cozy flickering flames. Add a firepit to mark the spot as you create a memorable gathering space for friends and family to share for years to come.
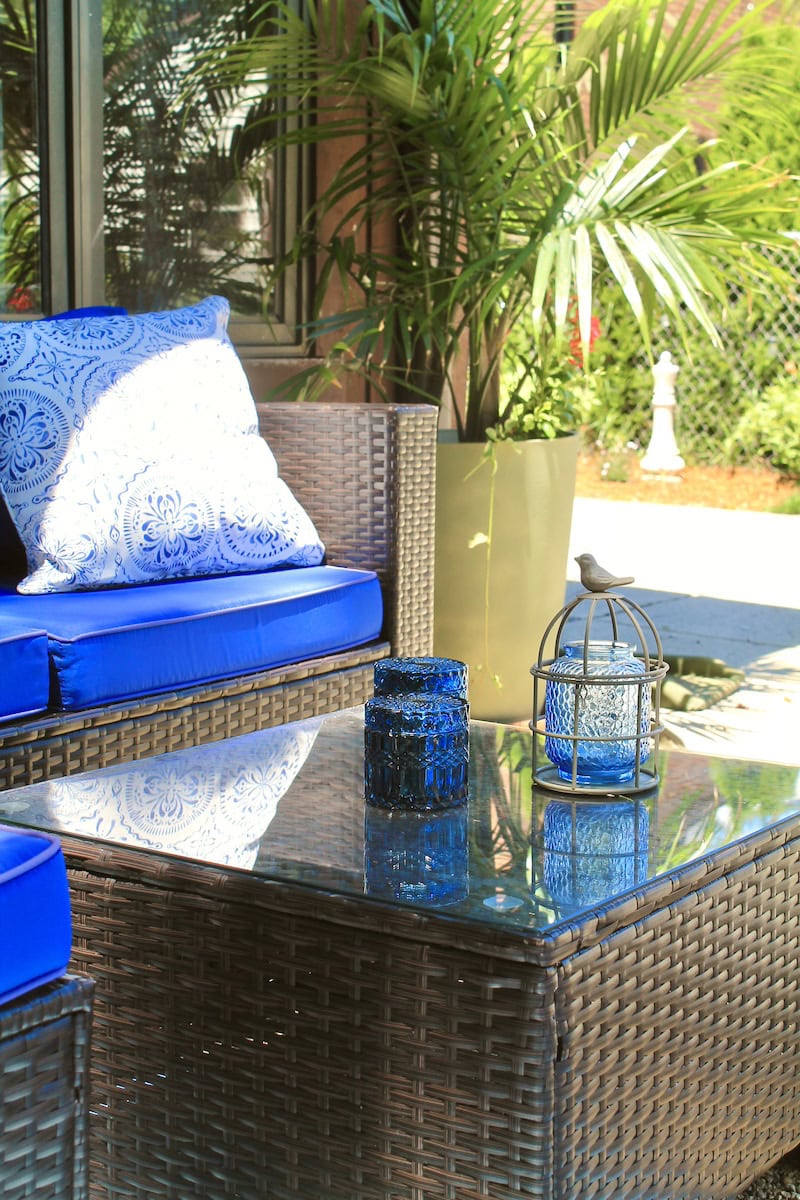
- Garden Containers and Potted Flowers
- Breathe a bit of colorful life into your patio space by adding pops of vibrant color with your favorite potted blooms! Stylish containers add finishing touches and lots of character to your favorite outdoor spaces. The patio is no exception!
1. Break up Dirt and Remove Excess Weeds, Plants, rocks
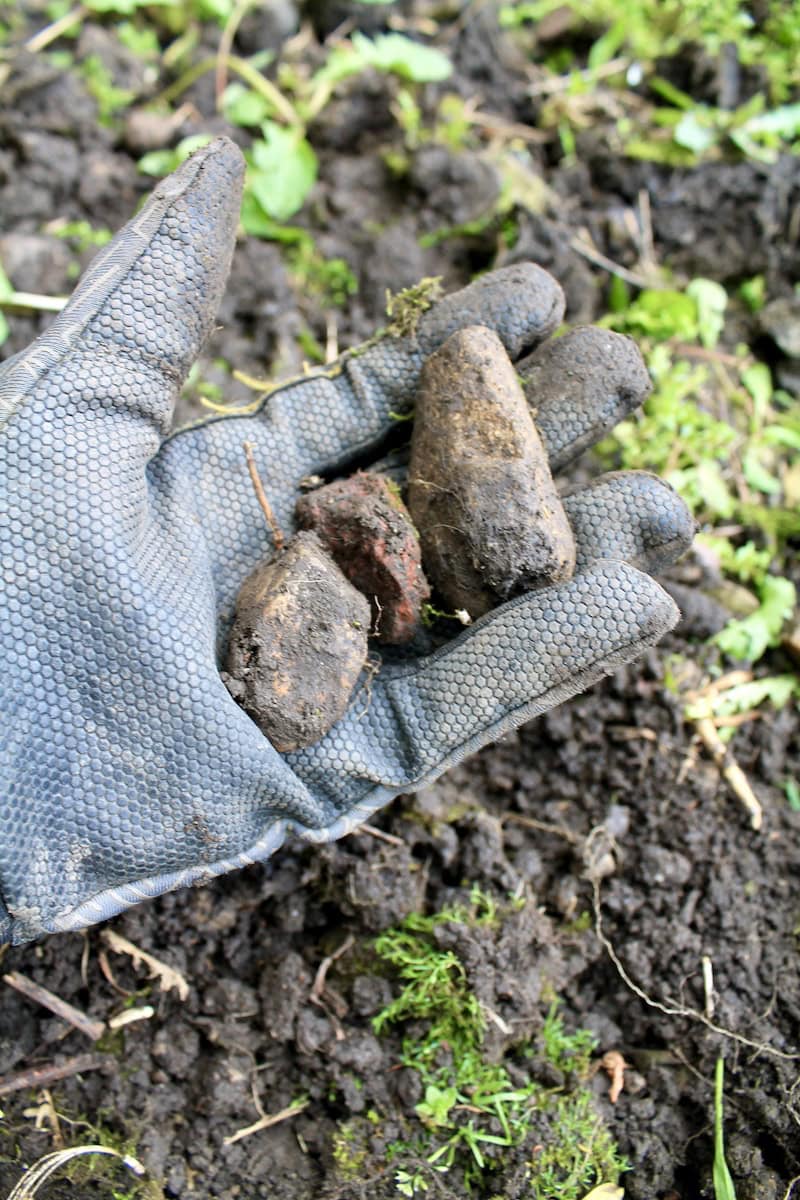
This is where the small electric garden tiller may come in handy if you’re working a larger surface area. We did our small 11.5 ft wide by 21.5 feet long rectangle space mostly by hand.
2. Dig Down To Create Depth, Remove excess Dirt
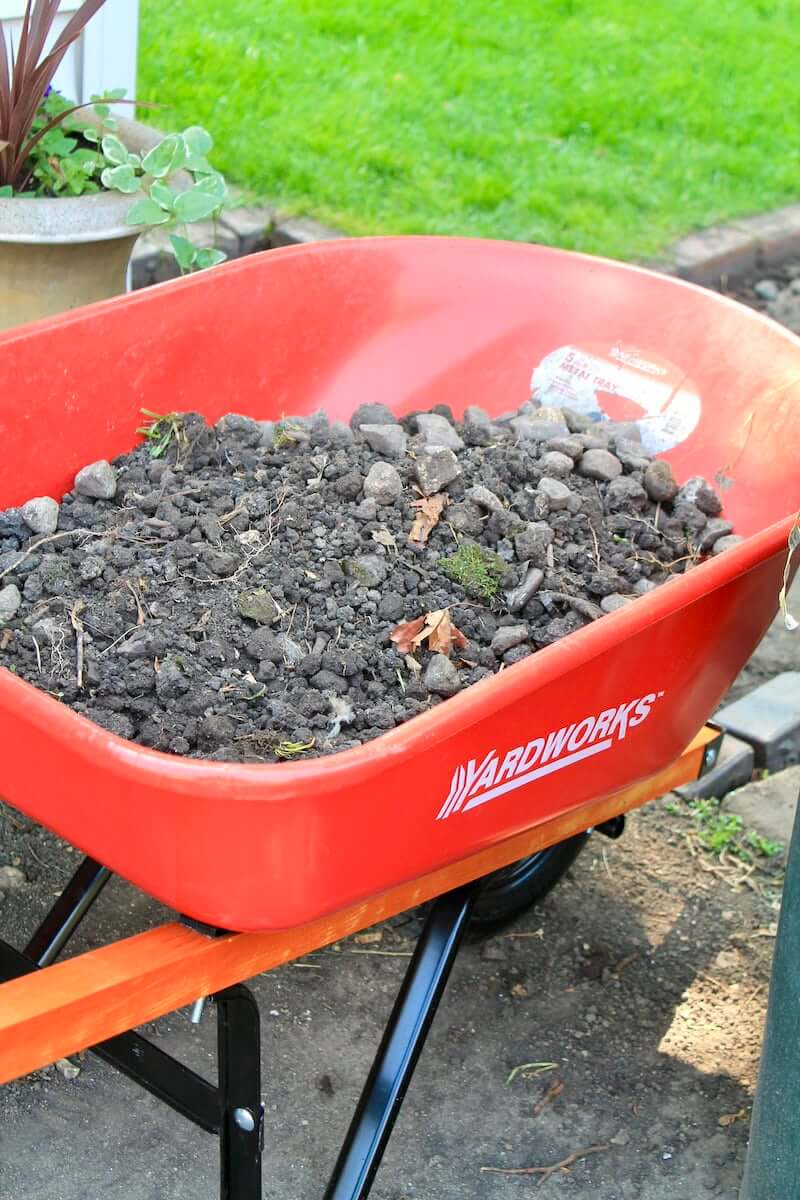
Once you’re finished clearing debris and removing piled up weeds, plants, and excess dirt, you’ll now be down to a nice clear dirt surface that you can easily work with a shovel. It’s time to dig down to create some depth that will contain the gravel.
3. Tamp Down The Dirt Surface
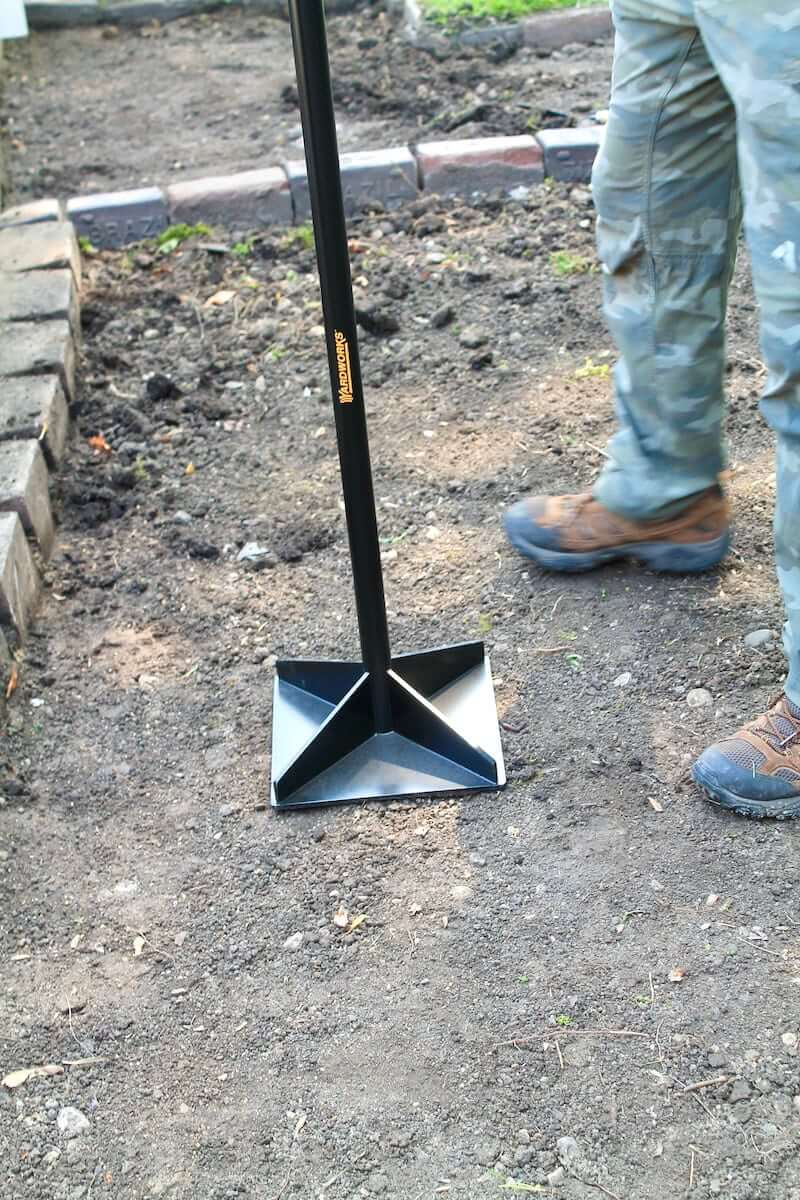
Once you’ve dug down and created your depth, it’s time to even out the ground surface and prepare a level area to receive a weed barrier and gravel later on.
For our smaller rectangular patio area, we used a handheld tamper to firmly tamp down all around. This helps to level the dirt so that you’re left with a nice even patio area by the time the gravel is added.
4. Put Down a Weed Barrier
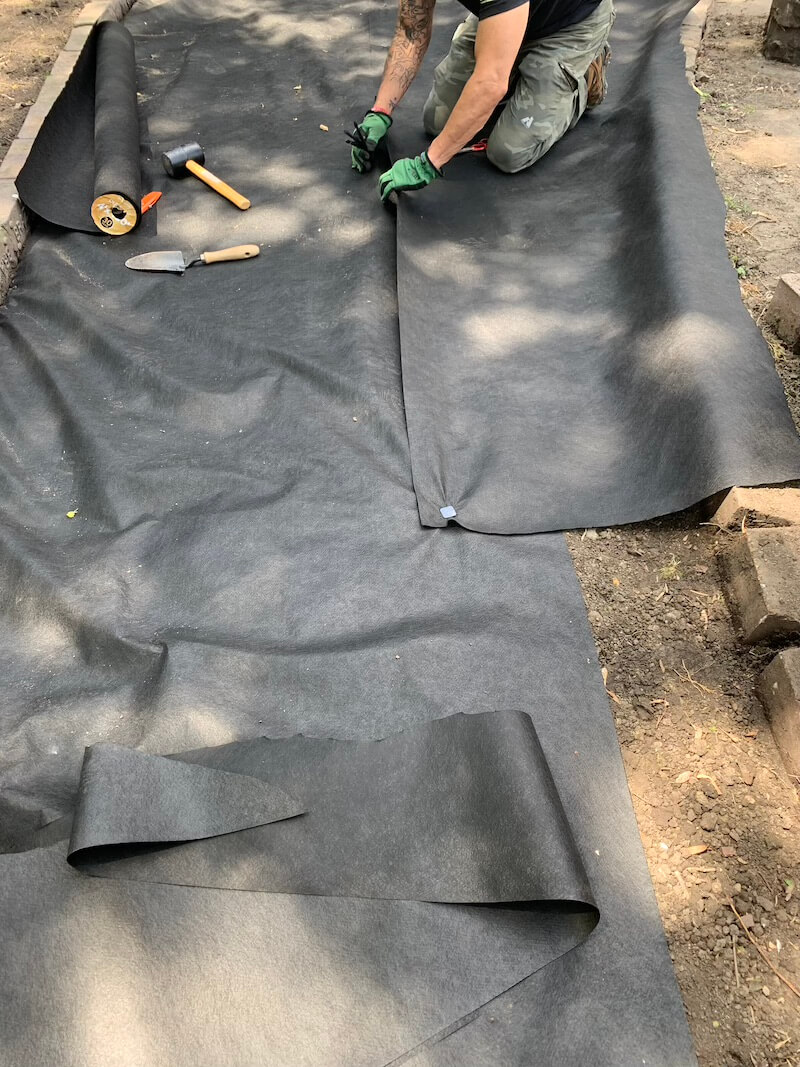
Now that your dirt surface is even and clean, it’s time to keep your gravel patio area weed-free by stopping future weed growth. Create a solid weed barrier by putting down weed block fabric or landscape fabric to stop things from growing in through the gravel season after season.
Place weed fabric directly over finished dirt surface and be sure to stake it down with lawn / garden stakes. If the fabric is not wide enough to fill a certain space, overlap the weed fabric by a few inches to create a stable seam.
5. Add Your Gravel to Create the Gravel Patio Space
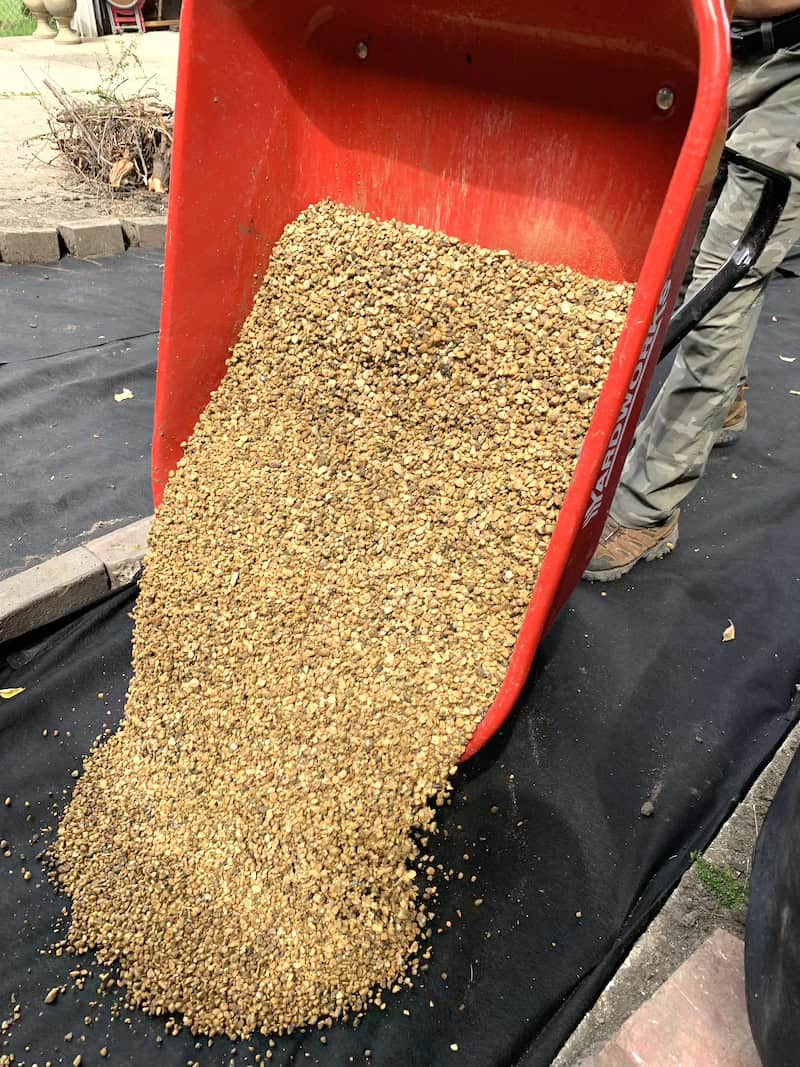
Once the weed barrier is set into place, it’s time to go ahead and add your pea gravel to the patio area. If necessary, use a wheelbarrow to help transfer pea gravel from the main pile to the worksite. Transfer shovels come in handy here to fill the wheelbarrow as you come back and forth for more material.
6. Even Out and Level Your Gravel Layer
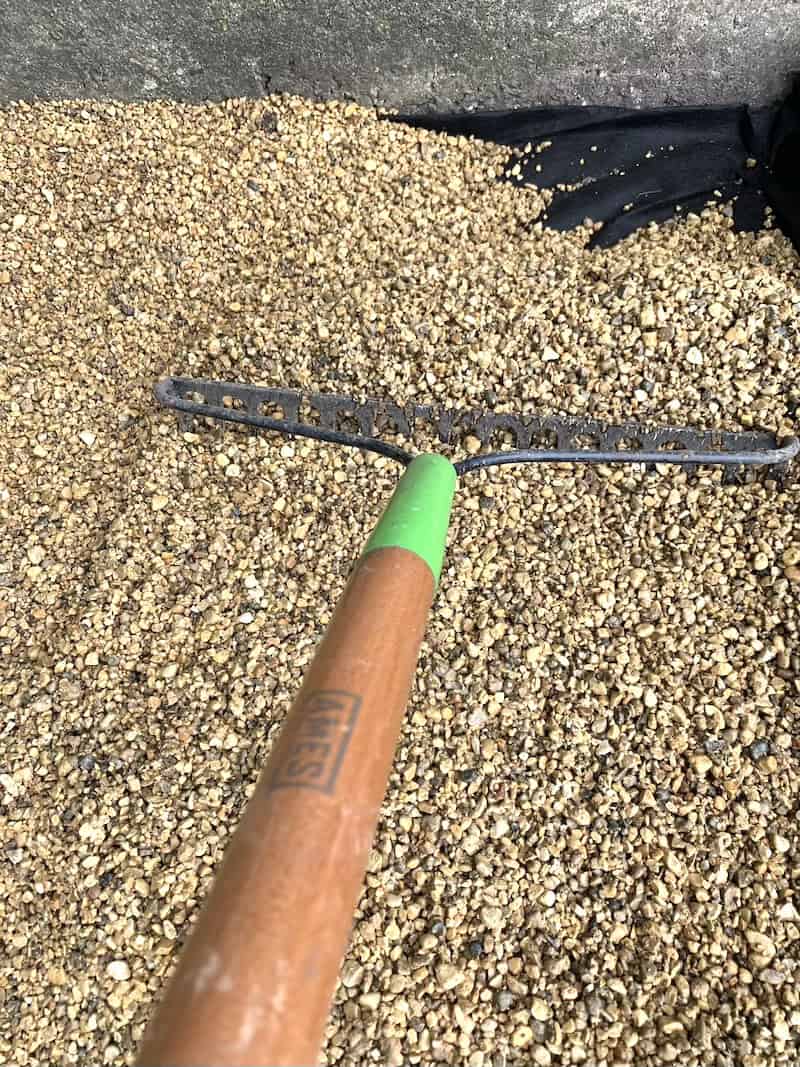
Use a leveling or landscape rake to work the gravel into borders and edges. Gently swipe the gravel surface area with your leveling rake to even out any bumpy hills in the newly poured gravel.
7. Add a Layer of Glue to Stabilize your DIY Gravel Patio Surface (Optional)
Once your pea gravel is poured out and combed through, and leveled, you can stop there or take it a step further to stabilize the patio with a layer or two of rock and gravel glue.

Tips To build the perfect Gravel patio this summer
- MEASURE – Measure the desired coverage area first, in square feet.
- CONSIDER YOUR COVERAGE – Keep in mind that 1 yard of gravel covers 100 square feet, 3 inches deep. However much pea gravel you need depends on how deep you want the gravel. I recommend a layer at least 3 inches deep for good drainage.
- DIG DOWN – Depending on your space, you may have to spend some time digging down and removing excess dirt to create sufficient depth to contain the gravel.
- DON’T SKIP ADDING A WEED BARRIER – I know it seems like an extra bit of work, but it’s a crucial important step you don’t want to overlook. Remember to place that layer of weed fabric over the dirt layer and stake it in place. It’ll help keep weeds at bay.
- PRESERVE YOUR GRAVEL PATIO FLOOR WITH GLUE – If desired, after smoothing out the gravel with a leveling rake or landscape rake, you can spray a layer of gravel glue to stabilize the pea gravel in place. patio.
- CHOOSE A STRETCH OF DAYS WITH GOOD WEATHER – For best results, plan in advance and pick a nice set of warm dry days coming ahead in the forecast. Pick even tempered days with no inclement weather.
- IF USING, APPLY GLUE TO A DRY SURFACE – If the gravel is moist or wet, wait until the gravel is completely dry before applying the glue as it will adhere best to dry contact areas.
Tips for Furniture and Decor on a Glued Gravel Patio Surface:
Once your diy pea gravel patio with fire pit is finished, it’s time to enjoy the fruit of all your hard labor by setting things up to make your space comfy and cozy.


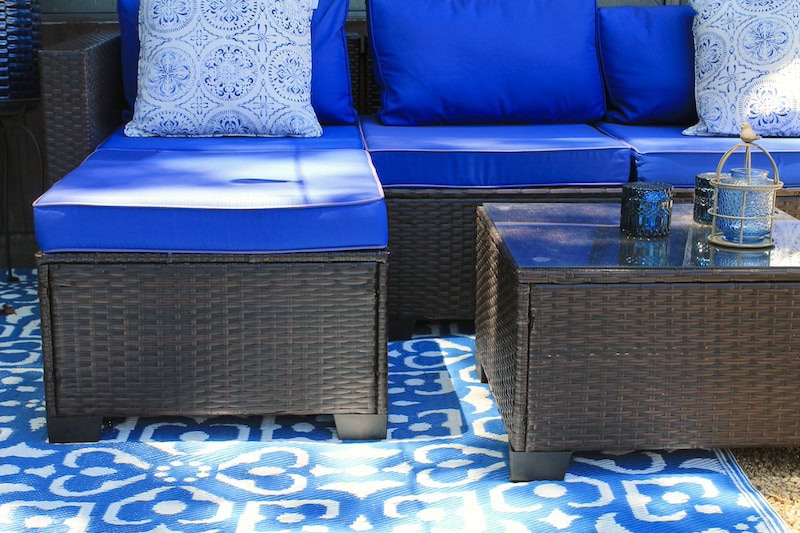
To keep things stylish and simple for our glued down pea gravel patio, we opted for modular wicker patio furniture with flat and wide bottom feet.
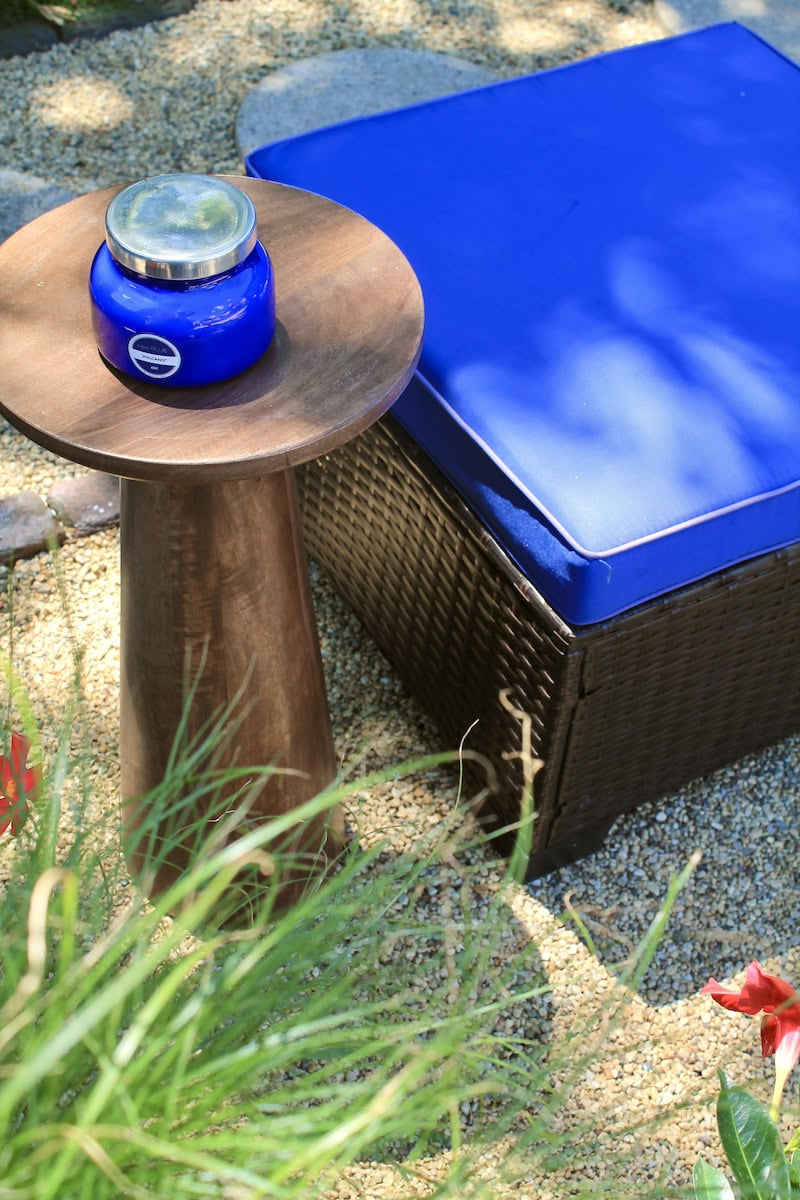
This shape beneath the furniture seems to sit nice and stable on the gravel surface. Additionally, we did add long outdoor area rugs to help stabilize the furniture even further.


Armed with these simple tips and tricks, it is my hope that you find this a useful guide that truly inspires you to create a budget-friendly cheap patio space. Once completed, you’ll have a little outdoor gem of your very own that you can share with friends and family for summers to come.